How to use a one man' brake bleeding kit

Here we explain how to use a one man' brake bleeding kit and the different types available and cheaply maintain your car yourself .
Types and use
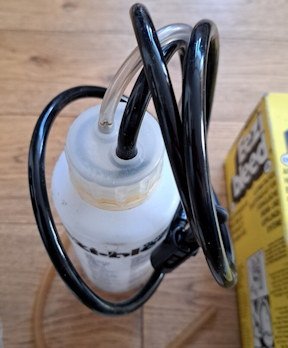
There are several low-price alternative kits for one man' bleeding, but they all work in a similar way, by providing a non-return valve at the bleed nipple so that fluid cannot re-enter the system once it is expelled.

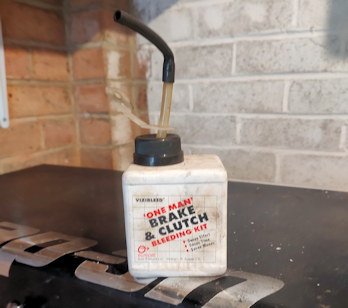
Basic one man bleeding kit
The valve is usually in a tube which you attach to each nipple in turn, but you can also buy. Nipples with built-in valves which you fit in place of the normal ones supplied on the car by the manufacturers.The advantage of these kits is that you can pump the brake pedal yourself, release it. then go round to see whether there was any air expelled which is still in the tube.
You do not need a helper, but the job is still time consuming and is easier with two people. If you are using non-return nipples, you will still need a plastic tube, and with either kit you will need a jar unless supplied, though it does not need to contain fluid when you begin due to how it works.
With either system, connect the tube to a nipple, and slacken the nipple by half a turn. ideally using a tight ring spanner as they can round off.
Pump the brake pedal keeping an eye on the fluid level in the reservoir as you do so. When air bubbles no longer emerge with the fluid expelled you can tighten up the bleed nipple, being careful not to overtighten it.
Do not be misled by tiny bubbles coming from the joint between the nipple and the tube. If you have a helper, it is easy to distinguish between these and air genuinely being bled from the system. This difficulty is overcome.

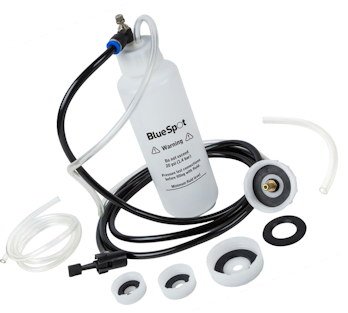
Brake bleed kit which is pressurized by air from a car tyre
With more expensive kits in which the job of pumping the fluid through the brake pipes and keeping the reservoir topped up is done automatically This system uses a second reservoir of brake fluid which is pressurized by air from a car tyre. This pressure forces fluid from the second reservoir into the main reservoir through a lightly fitting screw cap, and keeps the whole system under pressure A tube with non-return valve is supplied, as in the simpler kit. but you will still need a jar to catch the old fluid if not suppled as remember Brake fluid is very corrosive take care not to spill any on paintwork when topping up the reservoir. If you do spill any. wipe it away promptly or it will damage any surface if left.

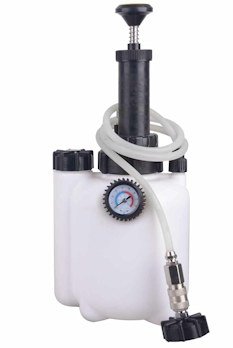
More expensive Brake bleed kit self pressurized
If you have no spare wheel there are more expensive self-pressurised kits but if you not going to be using the kit much don’t spend too much money on one as the cheaper kits will work just as well you can use jack to take the weight of a fitted wheel and use this but note only if the fittings will reach to all wheels.
To use the kit, you must first let your spare tyre down if the car has one to a lower pressure of around 10 psi measured with a tyre gauge. Then connect the second reservoir. which should be full of brake fluid. to the main. reservoir using one of the various caps supplied for different types of fittings. The partially deflated tyre to the second reservoir with the appropriate connector supplied.The system is now under pressure, and any leaks at the connectors should be attended to if necessary.
Now go round to each wheel in turn, connect the non-return tube and slacken off the nipple as usual. The pressure will force fluid through the tube and into the jar. and you can watch for bubbles as this happens. Go round each nipple in turn repeating the procedure. There is no need to touch the brake pedal at all.
This method has its advantages. and some manufacturers recommend the pressure method for their cars. But unless the connections are good you may be plagued with bursts Which let air in at the main reservoir. The only way to avoid this is to deflate your spare tyre further, reducing the operating pressure.
Notes.
- Check for leaks
- Tighten Nipples
- Empty and clean unit and store in dust free container for further use.
- Remember to re inflate you spare tyre before relocating to the spare wheel of if the car has no spare re-inflate the one used.
